For this week's project, I wanted to try some of the neat sweater upcycling projects I have been seeing on
Pinterest. There are a lot of great ideas floating around on the blogosphere.
This project also forced me to finally get out my sewing machine and figure out how to use it. I used to sew back in high school, but that was quite a few years ago and my mom was always there to help when I didn't know how to do something. I got a tutorial on sewing machine anatomy and use at Craftsy recently (available there for free), and it made me feel much more comfortable about trying out my sewing machine. It took me some time to thread the bobbin and then thread the machine, but I eventually got it working and got to sewing.
For this project, I went to Goodwill and got an assortment of old sweaters from both the men's and women's sections. I searched for sweaters in good condition and tried to find ones that were XL or XXL, so that I could get more fabric for my buck (wells bucks).
Blue Stripe Pillow Case
My friend Heather came over for this project, and she had a couple sweaters as well. With one of her sweaters, we made this pillow case. She didn't have any stuffing, so she will have to finish it later.
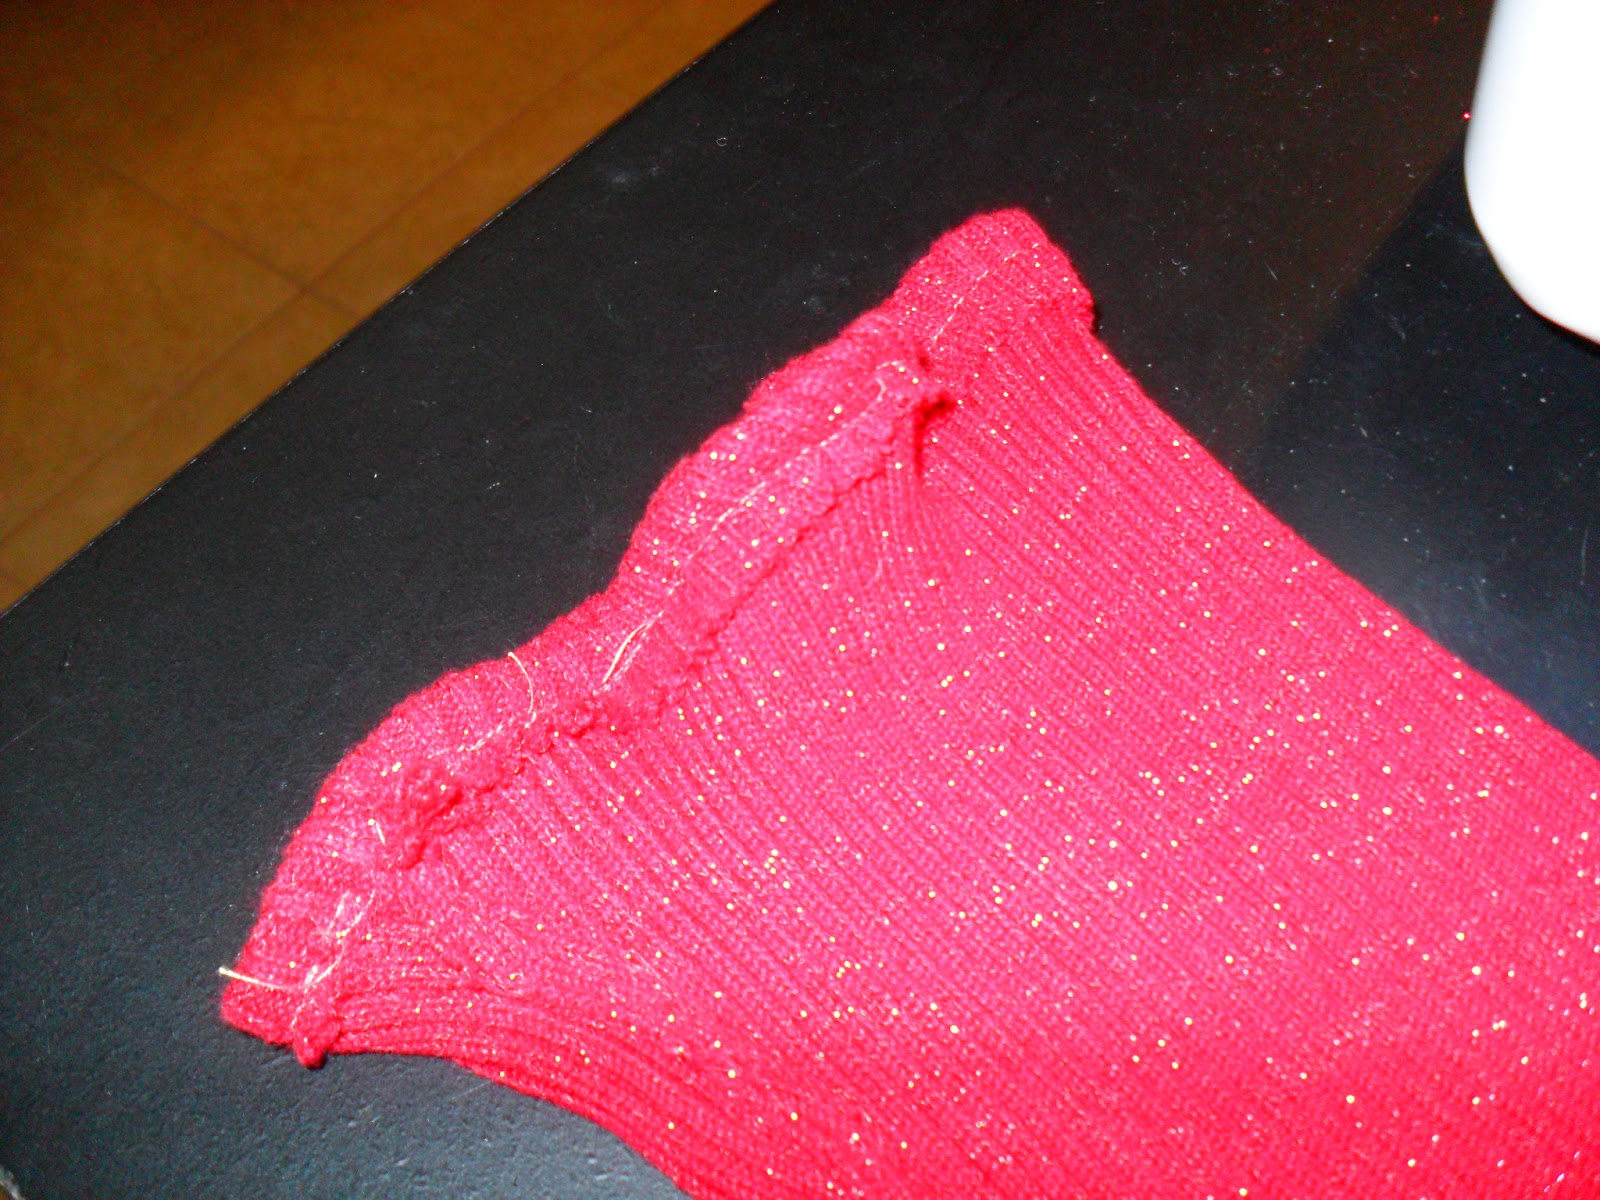
Red Sparkle Pillow Case
I found this great sparkly red sweater and wanted to make a pillow case out of it like
these pillow cases.
(I also got a blue sparkly one, but I already had coordinating ribbon to go with the red and none for the blue.)
Supplies
-sweater
-pillow
-ribbon
-scissors
-sewing machine & thread
I cut it off right below the armpit and sewed that section closed. I added the ribbon on the bottom where it was already hemmed when the sweater was made. In this photo, you can see the pillow I wanted to cover, the ribbon, and where I cut off the fabric.
I learned something while making this pillow case. You need to account for the fact that the sweater tapers out towards the bottom. I had to go back and sew a little more inward to make the pillow even.
Bag Holder
I also wanted to make a bag holder for the cat box area, so that my husband didn't have to keep hunting down a plastic bag each time he changes the cat box. We reuse the plastic grocery bags rather than buy cat waste bags.
Supplies
-sweater
-embelishments
-scissors
-sewing machine & thread
-glue gun & glue sticks
For the bag holder, I used a purple sweater and cut off the sleeve. I cut off another piece of the sleeve to make the handle. I turned the sleeve inside out and sewed the top closed (not the cuff). Next, I used the other section for the handle and sewed it so that it was more finished.
I thought it looked really plain, so I added these blue buttons that I had cut off of another sweater. I think they added a nice touch. Instead of trying to use the button sewing part of my sewing machine, I took the easy way out for the embellishment. I got out my hot glue gun.
Here is the bag holder stuffed and hanging up. It was hard get a picture because of it's placement by the dryer.
Finally, while I had my glue gun out, I fixed my redneck wine glass. I had put it in the dishwasher, and it came out as two pieces. Here is it drying/cooling.
There are still quite a few more sweater upcycle projects that I have in mind, including a blanket that I may make this next week. I will probably have one or more additional sweater upcycle posts in the near future.